How to Repot an Orchid: Phalaenopsis Step by Step
Learn when a moth orchid needs repotting, how to assess roots and how to choose its next pot and growing medium.

At a glance
This guide is for moth orchids, the broad-leaved Phalaenopsis commonly sold in flower. Their roots need a different setup from a foliage plant planted in ordinary potting soil. Start with the reason for repotting, then use the steps below.

Before you start: does it need repotting?
A new pot is useful when the existing medium has broken down, drainage has deteriorated, the roots no longer fit comfortably, or damaged roots need attention. A healthy plant finishing its flowers does not need repotting simply because the flowers have gone.
Look through a clear pot if you have one. Check the medium as well as the plant: bark that has become fine and soil-like behaves differently from fresh, open chunks. Roots growing over the rim may be healthy aerial roots. Inspect the whole setup before deciding that the pot is too small.
When practical, plan routine repotting around new root growth. If the orchid is flowering and its roots and medium are healthy, waiting avoids unnecessary disturbance. Suspected serious root damage calls for assessment rather than waiting for a calendar date.
Gather: fresh medium labeled for Phalaenopsis, a pot with effective drainage, a clean work tray, clean cutting tools and a label for the repotting date. Prepare the medium according to its instructions. A clear pot makes later inspection easier, but drainage and root fit matter more than transparency.
How to repot your orchid
1. Ease the plant out and remove the old medium
Support the plant near its base and loosen the container rather than pulling on a leaf or flower spike. If roots have attached to the pot, work patiently around them. Stop when you meet resistance and find what is holding the plant instead of forcing it free.
Pick away loose old bark. If pieces cling, wet them with room-temperature water and work them off gently. Leave living tissue intact. Discard the old medium rather than mixing it into the new pot.

2. Inspect the roots before reaching for the scissors
Color alone is a poor reason to cut. Roots change appearance with moisture and exposure, and old medium can stain them. Gently assess their firmness. A firm root is different from one that collapses, feels mushy or has lost its outer tissue.
Keep healthy aerial roots even when they point outside the pot. Trim only tissue you can identify as dead or decayed, using clean, sharp tools. If very few sound roots remain, this is a recovery problem, not a routine move into a larger container.
3. Choose the pot for the remaining roots
Assess the root mass after cleaning, not the size of the leaves. The next pot should accommodate the roots and fresh medium without requiring you to crush or tightly wind roots into place. An orchid that has lost roots may need the same size pot, or a smaller one, rather than an upgrade.
Choose a container that drains freely. If you use a decorative outer pot, make sure the inner pot can be lifted out for watering and that runoff cannot collect around its base. Follow a Phalaenopsis medium's instructions; a dense general-purpose soil is not interchangeable with an airy orchid mix.
4. Position the plant without burying its crown
Add a little prepared medium, then settle the plant so its base is supported. Keep the central growing area between the leaves and the leaf bases clear. Let roots take a workable position rather than pushing every aerial root below the rim.

5. Work fresh medium between the roots
Add small amounts around the roots and gently settle the mix into gaps. Support the plant while you work. Aim for a stable plant with an open root environment; packing the mix hard defeats the purpose of a draining orchid medium.
If the plant rocks, check its position and pot fit. Do not solve instability by burying the leaves or adding a much deeper layer over the base. Record the date and medium used so future changes are easier to interpret.
After repotting: watch the roots and medium
Keep the orchid in suitable indirect light and avoid adding several other changes at once. Water according to the fresh medium's preparation instructions and the condition of the plant, then let excess water drain. Do not leave the inner pot standing in runoff.
The new mix may dry differently from the old one. Check it before repeating the old watering routine. Note changes in root firmness, leaf condition and new growth. An aerial root looking dry does not, by itself, tell you that every part of the pot needs more water.
If something looks wrong
| What you notice | Check first | Next step |
|---|---|---|
| The plant rocks in its pot | Root fit and whether medium supports the base | Adjust the support without burying leaf bases. |
| Mix stays wet much longer than expected | Drainage, standing water and how much unused mix surrounds the roots | Remove collected runoff and reassess the setup before watering again. |
| Leaves soften or wrinkle | Both root condition and moisture; appearance alone cannot separate dryness from poor water uptake | Investigate what the roots can absorb rather than automatically adding water. |
Orchid repotting questions
Can I put orchid roots into ordinary potting soil?
Use a medium intended for the orchid you are growing. A Phalaenopsis root environment needs air and drainage; ordinary dense potting soil changes that environment substantially.
Do all roots need to be inside the pot?
No. Moth orchids naturally form aerial roots. Do not cut healthy roots simply to make the pot look tidy.
Does a brown root always mean rot?
No. Check firmness and tissue condition too. Color can reflect age, moisture or staining; mushiness or collapse provides different evidence.
Care references
- American Orchid Society: Phalaenopsis culture
- University of Maryland Extension: moth-orchid care
- Missouri Botanical Garden: visual repotting guide
For day-to-day care after the move, use Palma's care library. Keep a note of the new medium and what you observe before changing the routine again.
Nick Alan is the founder of Palma and has grown plants for 25+ years. He writes the shop's care guides and built the watering, soil and light tools.
View author profilePlants to grow next
Easy-care plants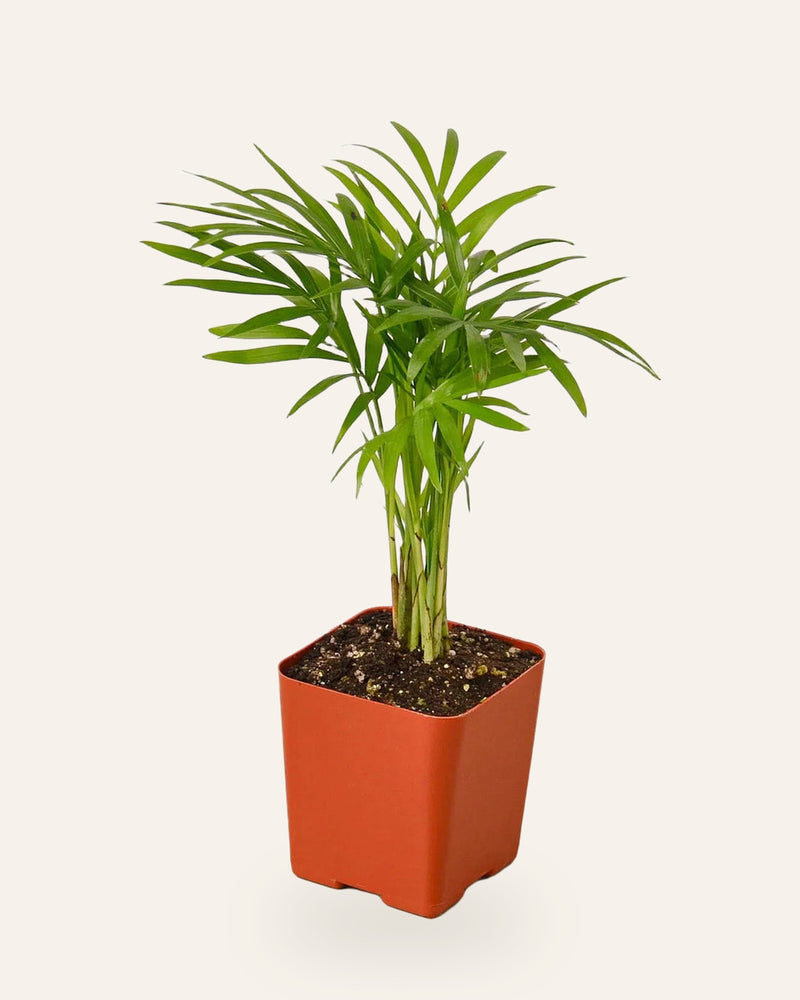
Parlor Palm
Chamaedorea elegansPot fit: 3", 4" or 6" nursery potWater when the top 1 to 2 inches of potting mix feel dry
from $21.99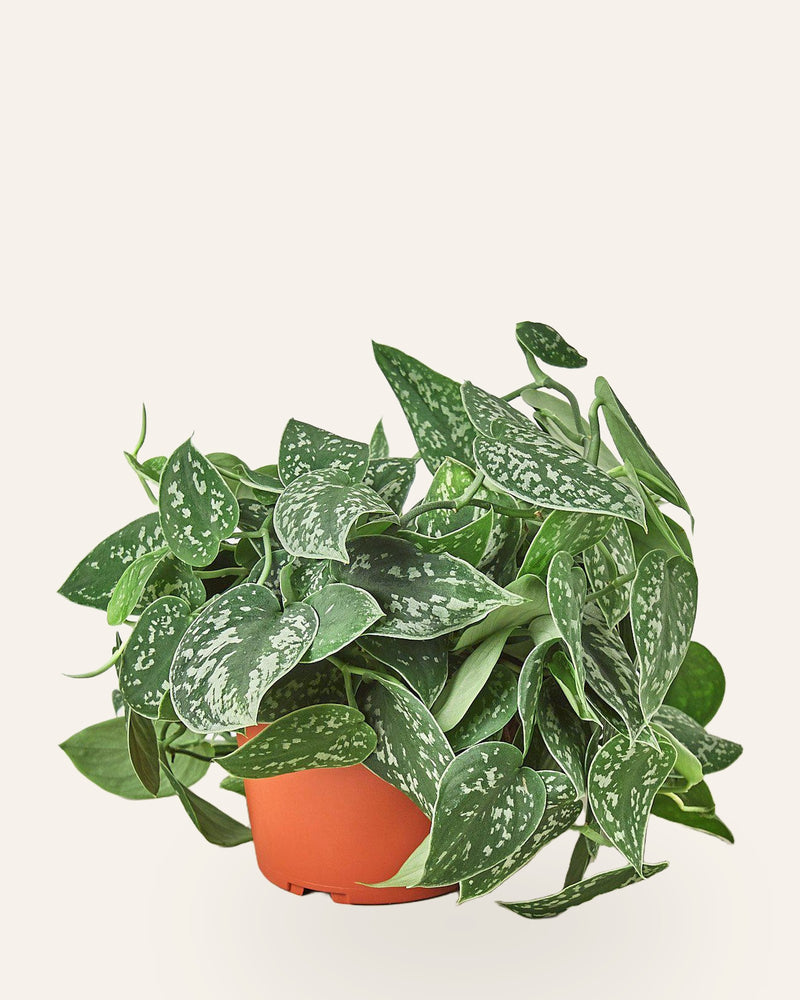
Satin Pothos
Scindapsus pictusPot fit: 4" or 6" nursery potWater after the top 1 to 2 inches of soil have dried
from $28.99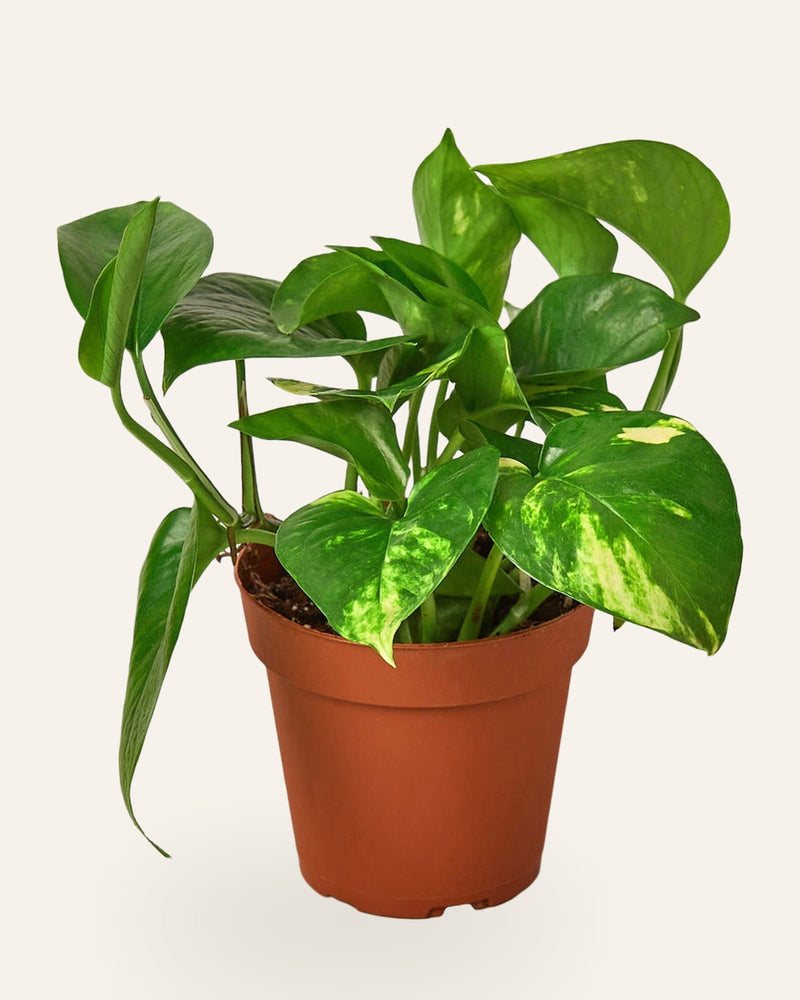
Golden Pothos
Epipremnum aureumPot fit: 4" or 6" nursery potWater when the top 2 inches of soil are dry, then drain fully
from $25.99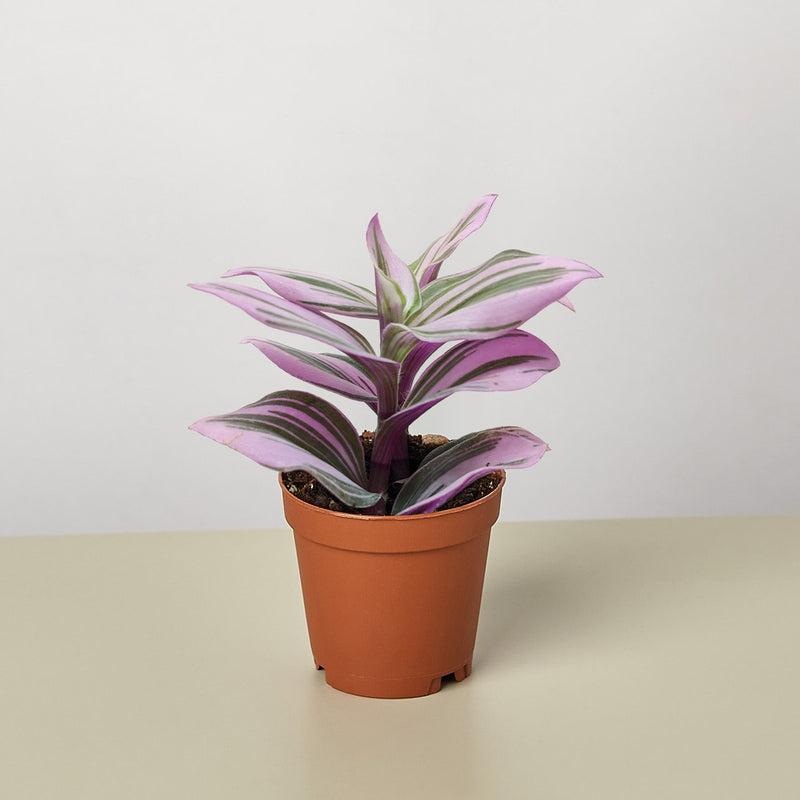
Tradescantia 'Nanouk'
Tradescantia albiflora 'Nanouk'Pot fit: 4" or 6" nursery potwhen the top inch of soil is dry
from $31.99Keep going with the care library
Care pages by plant, plus the watering and light calculators and the plant doctor.
More from the Journal
All Journal articles
Philodendron Congo Care: Light, Water and Fixes for Leaf Problems
How to care for Philodendron Congo: light, watering, soil, repotting and propagation, plus fixes for yellow, brown or droo...

Begonia Care Guide: Light, Water and Dark-Leaf Varieties
Care for indoor begonias including Begonia 'Black Magic' with practical advice on indirect light, watering, humidity, and ...

Homalomena Care Guide: Light, Water and Camouflage Foliage
Learn how to grow Homalomena indoors, including Homalomena 'Camouflage', with tips on medium light, steady moisture, and h...